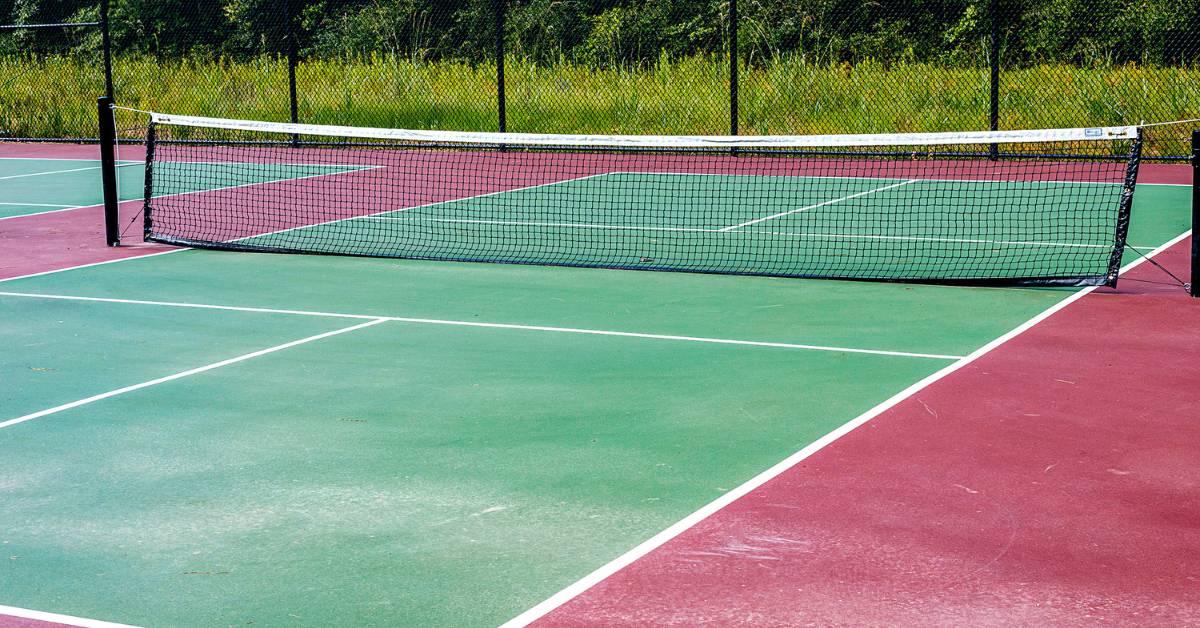
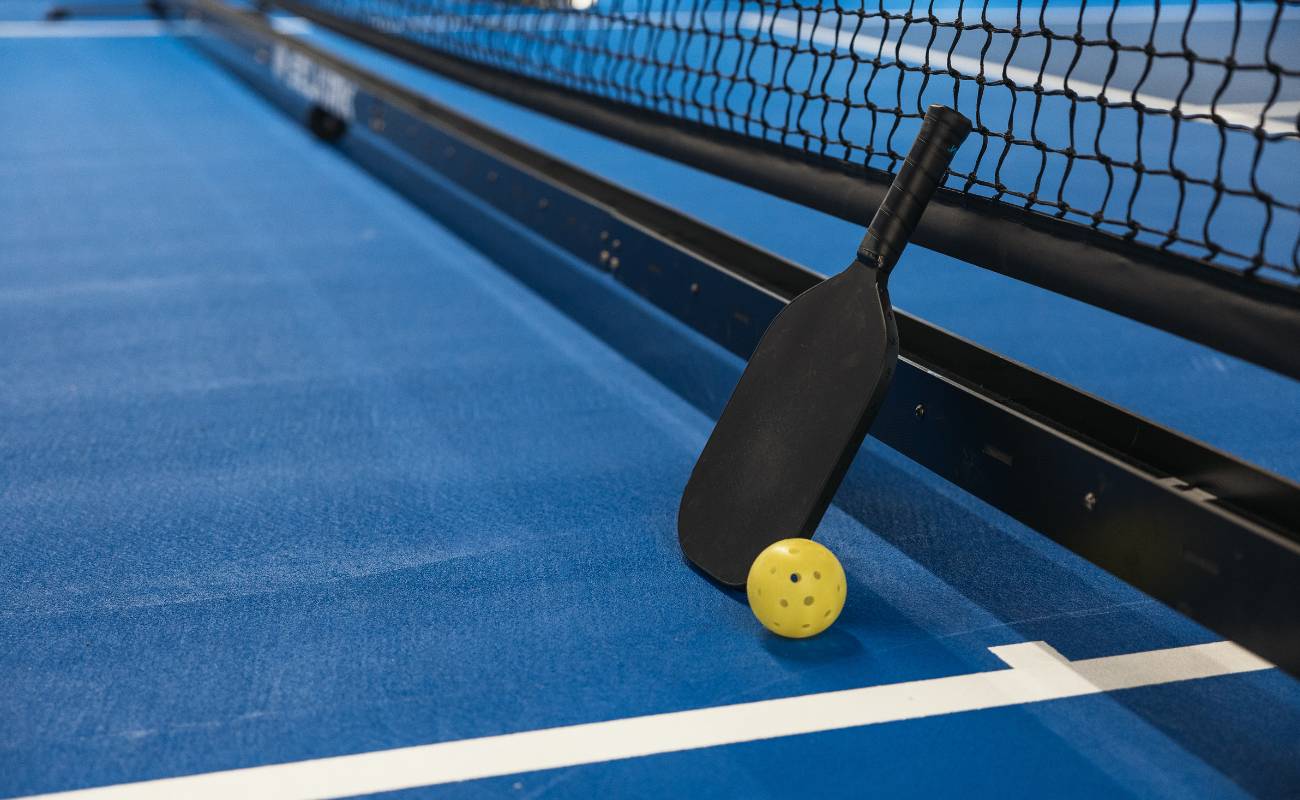
If you’re a fan of pickleball, you know how addictive the game can be. But finding a pickleball court can be a challenge, especially if you live in a rural area. Fortunately, building your own pickleball court is easier than you might think. In this article, we’ll show you how to build a DIY pickleball court that will provide hours of fun for you, your family, and your friends.
1. Choose the Right Location for Your DIY Pickleball Court
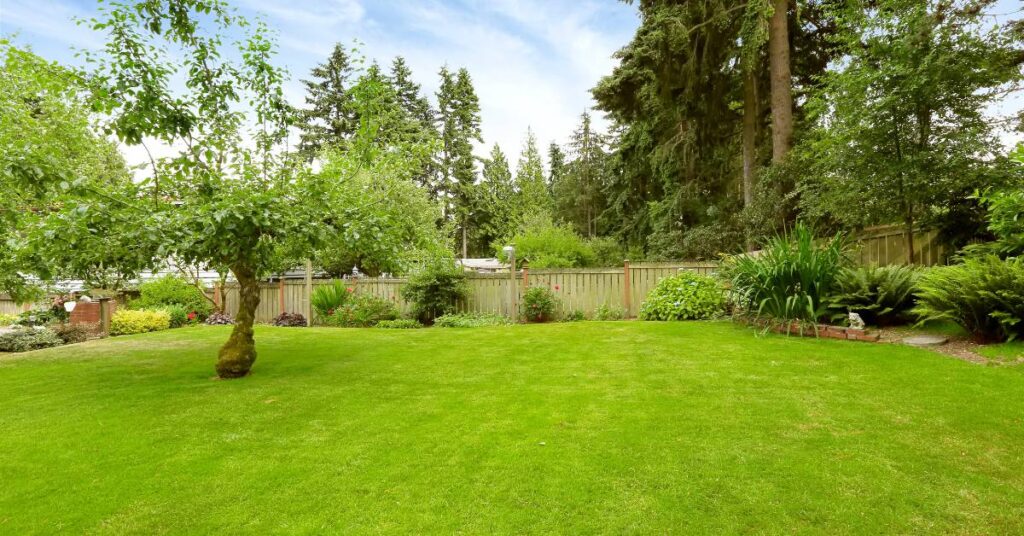
When it comes to building your own pickleball court, choosing the right location is crucial. You’ll want to make sure you have enough space for the court itself, as well as room to swing and run. Here are some considerations for both indoor and outdoor locations:
Backyard Court Considerations
When selecting an outdoor location for your pickleball court, keep these factors in mind:
- Size: A regulation pickleball court measures 44 feet by 20 feet. However, you’ll need additional space around the court for players to move and serve. USA Pickleball recommends a total area of 60 by 30 feet for the entire setup. Make sure you have enough space before beginning construction.
- Surface: The ideal surface for a pickleball court is a hard, smooth surface such as concrete or asphalt. Grass or dirt surfaces are not recommended as they can be slippery and uneven, increasing the risk of injury.
- Sun exposure: Consider the position of the sun when selecting your location. You don’t want the sun to be in your eyes while playing, so try to position the court to avoid direct sunlight during peak playing hours.
Indoor Location Considerations
For indoor locations, keep these factors in mind:
- Size: You’ll need a space that is at least 30 by 60 feet to accommodate a regulation pickleball court. Make sure you have enough ceiling clearance as well, as the standard net height is 36 inches.
- Surface: The ideal surface for an indoor pickleball court is a hard, smooth surface such as a gymnasium floor. Carpet or other soft surfaces are not recommended as they can cause the ball to bounce unpredictably.
- Lighting: Make sure the space has adequate lighting for playing. Bright, even lighting is important to ensure players can see the ball clearly.
By considering these factors, you can choose the right location for your DIY pickleball court and ensure a safe and enjoyable playing experience.
2. Prepare Your Materials and Tools

Building your own pickleball court is a great way to enjoy the game with friends and family. The following is a list of materials that you will need to build a DIY pickleball court:
Court Surface
The first thing you will need is a level playing surface. There are several options available for the court surface, including:
- Concrete: This is the most popular and durable option. It is also the most expensive.
- Asphalt: This is a cheaper option, but it requires more maintenance than concrete.
- Gravel: This is an inexpensive option, but it is not recommended for competitive play.
- Turf: This is a popular option for indoor courts, but it can be expensive.
Court Markings
Once you have your playing surface, you will need to mark the court lines. The court lines are 2 inches wide and should be a contrasting color to the playing surface. You can use paint or tape to mark the lines.
Net System
A net system is essential for playing pickleball. You can purchase a portable net system or build one yourself. A standard pickleball net is 22 feet wide and 36 inches high at the sidelines and 34 inches high at the center.
Posts
If you decide to build your own net system, you will need to purchase or build posts to hold the net. The posts should be made of sturdy materials, such as metal or PVC, and should be at least 3 feet deep in the ground.
Tools
In addition to the materials, you will also need the following tools:
- Two tape measures: one 50-ft. and one 25-ft. (or more)
- A level
- A shovel
- A wheelbarrow
- A tamper
- A plate compactor (optional)
- A power drill (if you need to install the net)
Before you start building your pickleball court, make sure you have all the necessary tools and materials on hand. It’s also a good idea to have a plan in place, including the dimensions and location of your court, as well as any additional features you may want to add.
Once you have everything you need, you can start building your DIY backyard pickleball court.
3. Prepare the Ground
Before you can start building your own backyard court, you need to prepare the ground properly. Here are the steps you need to follow:
Step 1: Choose the Right Location
The first step in preparing the ground for your pickleball court is to choose the right location. Ideally, you want a flat area that is free of debris, rocks, and other obstacles. You should also consider the amount of sunlight the area receives, as well as any nearby trees or structures that could impact gameplay.
Step 2: Clear the Area
Once you have chosen the location for your pickleball court, you need to clear the area of any debris, rocks, or other obstacles. You can use a rake, shovel, or other tools to remove any grass, weeds, or other vegetation that may be present.
Step 3: Level the Ground
After you have cleared the area, you need to level the ground. This is an important step that will ensure your pickleball court is flat and even. You can use a level or other tools to check the ground for any high or low spots, and then use a shovel or other tools to level the ground as needed.
Step 4: Add a Base Layer
Once the ground is level, you can add a base layer. This layer will help to provide a stable foundation for your pickleball court. You can use crushed stone or gravel for the base layer, and then use a compactor to ensure that it is packed down tightly.
Step 5: Apply a Top Layer
Finally, you can apply a top layer to your pickleball court. This layer should be made of a material that is suitable for playing pickleball, such as asphalt or concrete. You can use a trowel or other tools to apply the top layer evenly, and then allow it to dry completely before moving on to the next step.
By following these steps, you can prepare the ground for your DIY backyard pickleball court and ensure that it is flat, even, and ready for play.
4. Assemble and Install the Net
Once you have marked out the lines for your pickleball court, it’s time to assemble and install the net. Here are the steps you need to follow:
- First, unpack all the parts of the net and check that you have everything you need. Most pickleball nets come with a net, posts, and sleeves. Make sure that you have all the necessary parts before you start.
- Next, assemble the posts according to the manufacturer’s instructions. This usually involves sliding the poles together and securing them with screws or bolts.
- Once the posts are assembled, you need to install the sleeves in the ground. The sleeves are usually made of PVC or metal and are designed to hold the posts securely in place. To install the sleeves, dig two holes that are approximately 12 inches deep and 10 inches wide. Insert the sleeves into the holes, making sure that they are level with the ground.
- After the sleeves are installed, slide the posts into the sleeves. Make sure that the posts are level and that they are securely in place.
- Finally, attach the net to the posts. Most nets come with hooks or clips that attach to the posts. Make sure that the net is level and that it is pulled tight. You can adjust the tension of the net by moving the hooks or clips up or down on the posts.
Congratulations! You have now assembled and installed the net for your DIY backyard pickleball court. With the net in place, you’re ready to start playing!
5. Mark the Court Lines
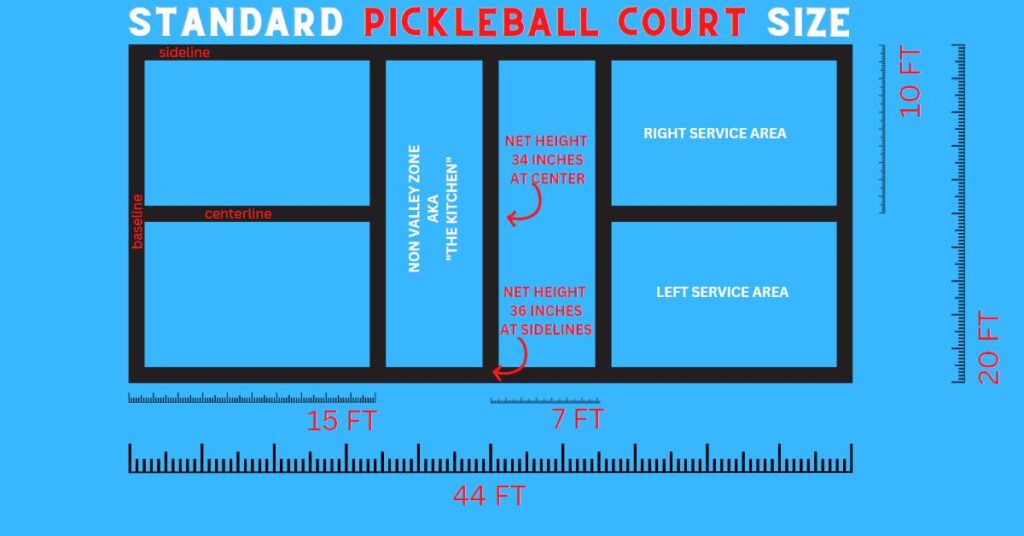
Here are some steps to follow:
- Choose a flat and level area in your backyard that is at least 60 feet by 30 feet, which is the recommended size for the entire setup by USA Pickleball.
- Measure and mark the court dimensions of 20 feet by 44 feet using chalk or tape. You can use a measuring tape to ensure accuracy.
- Mark the sidelines first by measuring and marking a line 22 feet from the outer edge of the court on each side.
- Next, mark the baselines by measuring and marking a line 20 feet from the outer edge of the court at each end.
- Mark the service lines by measuring and marking a line 15 feet from the back baseline on each side.
- Finally, mark the centerline by measuring and marking a line 22 feet from the outer edge of the court, dividing the court into two equal halves.
Remember, the court lines should be 2 inches wide and clearly visible. You can use a roller or paintbrush with outdoor court paint to make the lines more permanent.
By following these steps, you can create a regulation-sized pickleball court in your backyard. With a little effort and some basic materials, you’ll have a fun and exciting activity to enjoy with your family and friends.
6. Finishing Touches

Once you have completed building your pickleball court, it’s time to add the finishing touches. This step is essential to ensure that your court is safe, durable, and visually appealing. Here are some tips to help you add those finishing touches:
- Inspect the court: Before you start playing, inspect the court for any imperfections, such as rough spots or uneven lines. Make necessary adjustments to ensure that the court is level and smooth.
- Add a net: A pickleball net is an essential component of your court. Make sure that the net is regulation height and that it’s installed securely. You can purchase a net online or at your local sporting goods store.
- Mark the court: Use paint or chalk to mark the boundaries of your court. Make sure that the lines are straight and even. You can also add a centerline and service boxes to make your court look more professional.
- Add lighting: If you plan on playing at night, consider adding lighting to your court. You can install floodlights or string lights to illuminate the court. This will allow you to play safely and enjoyably even after the sun goes down.
- Add seating: If you plan on hosting tournaments or playing with friends, consider adding seating to your court. You can add benches or chairs to provide a comfortable place to rest between games.
By following these tips, you can add the finishing touches to your pickleball court and create a safe, durable, and visually appealing playing surface. Now it’s time to grab your paddle and start playing!
Don’t miss this: How to build a pickleball training machine at home!
Safety Considerations
When building a pickleball court at home, safety should be a top priority. Here are some key safety considerations to keep in mind:
- Clearance: Make sure there is enough clearance around the court to prevent collisions with walls, fences, or other objects. The USA Pickleball Association recommends a minimum of 12 feet of clearance on all sides of the court.
- Surface: The court surface should be free of any hazards such as cracks, holes, or debris that could cause injury. It is important to choose a surface material that provides good traction and is not too hard or too soft. Concrete is a popular choice for its durability and low maintenance.
- Net: The net should be securely fastened and at the correct height (36 inches at the sidelines, 34 inches in the middle). It is also important to use a net with the correct width (22 feet for doubles, 20 feet for singles) and mesh size (no larger than 2 inches).
- Lighting: If you plan to play at night, make sure the court is well-lit to avoid tripping hazards and ensure visibility of the ball. LED lights are a popular choice for their energy efficiency and long lifespan.
- Fencing: A fence around the court can help prevent balls from escaping and causing damage or injury. It is important to choose a fence height that is appropriate for your court size and location.
By taking these safety considerations into account, you can ensure that your home pickleball court is a safe and enjoyable place to play.
Maintenance and Care
To keep your pickleball court in top shape, regular maintenance and care are essential. This section will cover two sub-sections: Regular Cleaning and Surface Repairs.
Regular Cleaning
Regular cleaning is necessary to prevent dirt, debris, and other contaminants from accumulating on the court surface. Here are some tips to keep your court clean:
- Sweep the court surface daily to remove dirt, debris, and leaves.
- Use a leaf blower to remove any stubborn debris.
- Power wash the court surface once a month to remove any dirt or stains.
- Use a mild detergent and water to clean the court surface.
- Avoid using harsh chemicals or abrasive cleaners, as they can damage the court surface.
Surface Repairs
Over time, your pickleball court may develop cracks, chips, or other surface damage. Here are some tips to repair the surface:
- Fill any cracks or chips with a court patching compound.
- Smooth out the surface with a trowel or putty knife.
- Allow the patching compound to dry completely before playing on the court.
- If the surface damage is severe, consider resurfacing the court.
Regular maintenance and care are necessary to keep your pickleball court in top shape. By following these tips, you can ensure that your court remains safe and enjoyable to play on for years to come.
Frequently Asked Questions
What are the different surface options for an outdoor pickleball court?
There are several surface options for an outdoor pickleball court, including concrete, asphalt, and acrylic. Concrete is the most popular option due to its durability and low maintenance. Asphalt is also a good option, but it requires more maintenance than concrete. Acrylic surfaces are the most expensive but offer the best playing experience.
How thick should the concrete be for a pickleball court?
The concrete for a pickleball court should be at least 4 inches thick. The concrete should also have a PSI (pounds per square inch) rating of at least 3,000 to ensure it can withstand the weight of players and equipment.
Can I build a pickleball court on grass?
It is possible to build a pickleball court on grass, but it is not recommended. Grass is not an ideal surface for pickleball due to its unevenness and tendency to shift. If you must build a pickleball court on grass, make sure to level the area and install a sturdy base.
How can I build a portable pickleball court for my driveway or backyard?
To build a portable pickleball court, you can purchase a pre-made kit or build your own using materials such as PVC pipes and netting. Make sure to measure your space and adjust the dimensions accordingly. Portable courts are a great option for those who want to play pickleball at home but don’t have the space for a permanent court.
